current beauty favorites


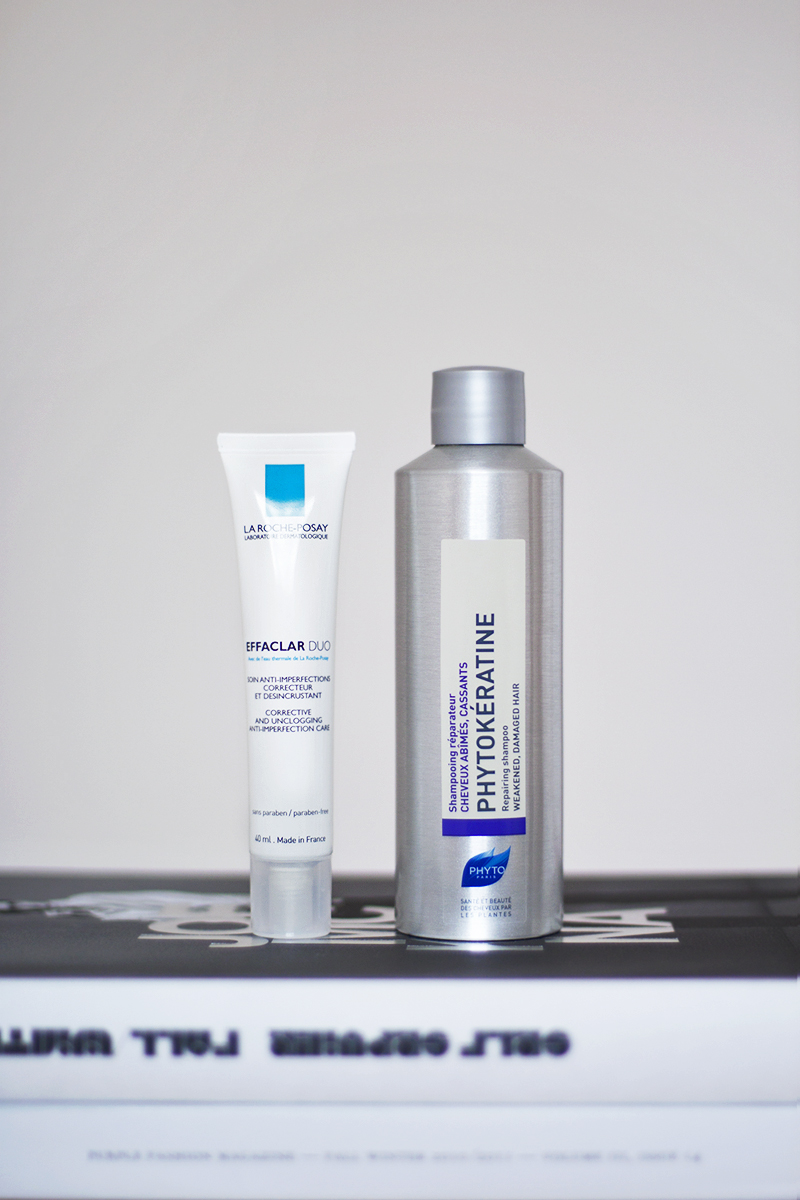
Bis vor ein paar Monaten hatte ich noch mit dem einen oder anderen Pickel zu kämpfen. Meine Haut spielte einfach vollkommen verrückt. Die beste Gelegenheit also um gerade das gehypte Produkte gegen Unreinheiten schlecht hin auszuprobieren: La Roche-Posay Effaclar DUO. Eigentlich hatte ich mal eine kleine Tube als Probe bei der Apotheke mitgenommen, allerdings ist mir zu der Zeit nichts weltbewegendes aufgefallen. Doch wo die gefühlt halbe Youtube-Welt von diesem „life-changing“ Produkt geschwärmt hat, wurde mein Interesse noch ein Mal geweckt.
Also habe ich die Creme abends nach der Reinigung auf’s ganze Gesichts aufgetragen. Ich konnte ein leichtes Kribbeln bemerken. Das hat wohl was mit den Fruchtsäuren zu tun, die die Haut von abgestorbenen Hautzellen befreit. Schon am nächsten morgen konnte ich oberflächliche Verbesserungen spüren und sehen! Insgesamt war die Haut schon sehr viel weicher und glatter Und nach ein paar Nächten mehr waren die Pickel weg! Nur die Pickelmale brauchten etwas länger, doch auch diese wurde viel schneller aufgehellt als normalerweise. Nun benutze ich die Creme am jeden zweite Abend und kann ich über keine Pickel mehr beklagen. Zwar spüre ich, wie sich sich immer mal wieder einer anbahnt, aber mit einer Effaclar-Behandlung kommt er gar nicht erst zum Vorschein. Ich verwende die Creme nicht jedes Mal, da meine Haut sonst zu trocken wird. Besonders den Bereich um die Nasenflügel rum sollte man komplett aussparen.
Manch eine, und besonders diese, Apotheken-Marke glänzt ja nicht gerade mit den besten Inhaltsstoffen. Doch dieses Produkt wirkt einfach und das ist mir im Endeffekt dann doch am wichtigsten.

Beim nächsten Produkt geht es um die Haare. Das Phytokératine Repair Shampoo von Phyto* habe ich jetzt etwa 2 Monate lang ausprobiert. Es ist besonders für strapaziertes und brüchiges Haar geeignet. Da ich meine Haare regelmäßig mit dem Lockenstab quäle und mir jetzt auch noch „Ombre Hair“ gefärbt habe, brauche ich was pflegendes! Pflanzliches Keratin im Shampoo soll brüchige Stellen wieder auffüllen während Hyaluronsäure Feuchtigkeit im Inneren der Haarfaser speichert. Dabei ist es frei von Silikonen und Parabenen. Aber ich will euch nicht weiter mit den Wirkstoffen langweilen. Wie ist das Zeug denn nun?
An sich ist das Shampoo super cremig und schäumt sehr schön auf. Der Geruch ist eher so „meh“ aber nicht weiter störend. Bessere Kämmbarkeit konnte ich nie feststellen, aber der Glanz – der Glanz! Außerdem fühlen sich die Haare unglaublich weich an, besonders wenn ich sie lufttrocknen lasse. Und ich mein, das Ganze ohne dass ich hinterher noch eine Spülung oder Maske verwende. Beschwert sind die Haare danach auch überhaupt nicht und darauf lege ich schon sehr viel Wert! Jetzt, wo ich die Haarenden gefärbt bzw. gebleicht habe, wurde der „Gesundheitsszustand“ meiner Haare etwas zurückgeworfen. Allerdings denke ich, dass die Haare ohne diess Shampoo viel schlimmer dran wären.
Ich würde eine klare Empfehlung aussprechen. Der Nachteil ist wohl einzig allein der Preis. Mit etwa 12 Euro ist das schon deutlich mehr als das, was man normalerweise für ein Shampoo ausgibt. Aber ich finde es lohnt sich.

Worauf schwört ihr denn momentan?


Couple of months ago I suffered from some break-outs. My skin simply went crazy. But this was the best time for testing out this moment’s most hyped product against blemishes: La Roche-Posay Effaclar DUO. Actually I had a little sample of it once but didn’t noticed anything outstanding about it. But now that half of the Youtube world was talking about it, this stuff got my attention again.
So, applied on all over the face after my usual skincare routine at night I could notice some tingling. Guess that’s because all those fruit acids getting rid of the dead skin cells. In the next morning I could already feel and see some differences on my skin. It was super smooth. And a few nights later the blemishes were gone! Only the dark marks took a bit more than that to disappear but they lightened quicker than usually. Now I am using this cream every other night and I never woke up with any spots again. Sometimes I feel how one is „growing“ though but after an Effaclar treatment it can’t even get to the surface. I don’t use the cream every time since it would dry out my skin too much. Especially the areas around the nose should be completely left out. Some pharmacy brands and this one in particular are known for not having the best ingredients but this stuff simply works and that is, in the end, my first priority.

The next product is all about hair. I tried the Phytokératine Repair Shampoo by Phyto* for about 2 months now. It’s supposed to be for weakened and damaged hair. Since I torture my hair with the curling wand on a regular basis and even got it ombred last time I totally need something nourishing! Botanical keratin in the shampoo imbues hair, making it stronger and hyaluronic acid helps restore optimal hydration levels. It’s also formulated without silicons and parabens. But I don’t want to bore you with ingredients. So how is this stuff really working?
The shampoo itself is very creamy and lathers up very well. The scent is a bit „meh“ but not very dramatic. In the matter of combability I couldn’t tell any improvement but the shine of my hair was outstanding. It was also very soft and smooth. And that without using a conditioner or hair mask afterwards. It also didn’t weight down my hair and that’s what annoys me the most with other shampoos. Now that I bleached my ends I had a little „setback“ in terms of the health of my hair but I think it would be way worse without this shampoo. I’d definitely recommend this product. The only downside about it would be the price – 12 Euro is not the avarage amount you usually spend on a shampoo. I think it’s worth it though.

Written by Nisi

März 8th, 2013 05:29 pm. Comments

Make-Up Tutorial: „Healthy glowy Valentine“

Ja ihr Lieben! Heute habe ich für euch ein kleines Schminktutorial vorbereitet und zwar für einen Look zum Valentinstag. „Aber moment mal, der ist doch schon längst vorbei?!“, denkt ihr euch jetzt sicher. Das stimmt, allerdings gab es ein paar logistische Probleme mit den Produkten weshalb das ganze erst heute live geht. Aber da doch eh viele der Meinung sind, jeder Tag sollte wie Valentinstag sein, passt das doch auch ;)
Also vorab habe ich mir schon ein paar Gedanken gemacht, was ich denn schminken möchte. Inspiration fand ich bei Marc Jacobs A/W 2012, Jason Wu S/S 2013 und Joy Cioci S/S 2012bold red lips, schlichtes Augenmakeup und pfirsischfarbene Wangen. Dass so ein Lippenstift-Mund zum Knutschen gänzlich ungeeignet ist und der Großteil der Männer doch meist etwas abgeneigt von stark geschminkten Lippen sind, ignorieren wir jetzt mal vollkommen. Denn hier geht es darum, dass Frau einfach nur hübsch aussieht ;) Ok genug geredet, auf geht’s zur Step-By-Step-Anleitung:

/Hey guy! Today I prepared a little make-up tutorial for a Valentine’s Day look. „But wait, isn’t it already over?!“ you would probably think. Yes indeed but since there were some logistical problems with the products this post just had to come a little bit later. A lot of people think that every day should be like Valentine’s Day – so that all isn’t too bad now, is it? ;)
So beforehand I gave some thought to what kind of look I want to create. I got inspired by Marc Jacobs A/W 2012, Jason Wu S/S 2013 und Joy Cioci S/S 2012 – bold red lips, simple eye make-up und peachy cheeks. That lips full of lipsticks aren’t the best choice for snogging and a big part of the male population isn’t very into strong colored lips we will utterly ignore now. Here it’s about us looking super pretty after all ;) But enough of the babbling, here we go with the tutorial:

Angefangen wird natürlich mit Foundation. Ich benutze Le Teint Touche Éclat von Yves Saint Laurent in der Farbe „B40“. Ich reiße mich an dieser Stelle mal zusammen und fang nicht wieder damit an, von dieser Foundation zu schwärmen…

/We start with foundation of course. I am using Le Teint Touche Éclat from Yves Saint Laurent in the shade „B40“. I am trying hard no to rave about this wonderful foundation again…

Weiter geht es mit Concealer. Für unter die Augen benutze ich einen rosa-stichigen Concealer, damit das Blau besser neutralisiert wird (mit Gelb wird es eher gräulich). Ich verwende Benefit’s Erase Paste. Spots und Pickelmale werden dann mit „normalen“ Concealer abgedeckt. In meinem Fall wäre das die Artdeco Camouflage Cream. Am besten trägt ihr die Farbe mit einem kleinen Pinsel auf die nötigen Stellen auf und tupft es dann mit den Fingern ab. So sieht es natürlicher aus, als wenn ihr großflächig abdecken würdet.
Und damit das Gesicht noch richtig „Dimension“ bekommt, jetzt noch die ultimative Kombo zur Foundation: Touche Éclat von Yves Saint Laurent in der Farbe „2“ als Highlighter auf Wangenknochen, Nasenrücken, Brauen und Armorbogen.

/On to concealer. For the area under the eyes I am using a concealer with a pink undertone to better neutralise the blue (it’s getting more grey-ish if you use a yellow one). I picked Benefit’s Erase Paste. Spots and dark marks can be covered with a normal concealer. In my case it’s the Camouflage Cream from Artdeco. You better apply the product with a tiny brush on the concerning areas and gently dab it in with your fingertips. Like that you get a more natural finish.
To give the face more „dimension“ you follow up with the perfect combo to the foundation: Touche Éclat from Yves Saint Laurent in the Shade „2“ as a highlighter on cheekbones, down the center of the nose and on brows and the cupids bow.

Die Grundierung ist fertig und die Haut sieht gleich viel strahlender und gesünder aus. It’s all about the glow. Nun aber zu den Augen:

/So the base is done and the skin is looking much more radiant and healthy. It’s all about the glow. But now to the eyes:


1. Wimpern curlen. Wer vor der Wimpernzange Angst hat, wie ich damals, kann diesen Schritt gerne auslassen. Doch das lässt die Augen noch wacher erscheinen.
2. Jetzt zum Lidschatten. Ich habe „Sugar Biscuit“ von Estee Lauder* ausgesucht. Ein schimmernder Champagner-Ton, der je nach Lichteinfall auch mal pfirsischfarben aussieht. Der kommt übers ganze Lid, einfacher geht’s nicht und wir haben wieder den Glow, ihr wisst schon ;)
3. Jetzt greift ihr zur Wimperntusche eures Vertrauens. Wichtig ist nur, dass sie gut trennt und verlängert. Wir wollen keine Fliegenbeine, Mädels! Für die unteren Wimpern kam Clinique’s Bottom Lash Mascara* zum Einsatz. Diese winzig kleine Bürste erwischt jedes Häärchen!
4. Wer es nötig hat: Augenbrauen nachziehen. Für mich macht hier ein Augenbrauen-Duo von Essence den Job.

/1. Curling your lashes. If you’re as afraid of eyelash curlers as me back in the days you can skip this step. But this will let your eyes look much more awake.
2. On to Eyeshadow. I’ve chosen „Sugar Biscuit“ from Estee Lauder*. A shimmering champagne color which sometimes look quite peachy depending on the light. I apply the color all over the lid, nothing is as easy as that and we have to glow again, you’re getting my lead, right? ;)
3. Now grab your mascara of trust. Just make sure it separates and lengthens your eyelashes properly. We don’t want to have fly legs, girls! For the bottom lashes Clinique’s Bottom Lash Mascara* was called into action. This tiny little wand gets every single hair!
4. For the ones who need it: fill in your eye brows. A brow duo set form Essence is doing the job for me here.

Jetzt nur noch der Feinschliff. Für frische Farbe auf den Wangen sorgt hier Clarins Blush Prodige in „02 Soft Peach“*. Und auf den Lippen kommt ein sattes leckeres Rot, Shiseido Perfect Rouge in „Valentine“*. Perfekter Name für unser Thema ;) And here you have the finish look (jemand schaut hier wohl zu viel Youtube):

/Now we only miss the final touch. Clarins Blush Prodige in „02 Soft Peach“* is giving us a fresh color on the cheeks. On the lips you put on a pure juicy red, Shiseido Perfect Rouge in „Valentine“*. Perfect name for our occasion ;) And here you have the finish look:

Was sagt ihr? Würdet ihr euch den Look so nachschminken? Nicht, dass er super kompliziert wäre, aber… ich bin gespannt :) Hier nochmal die wichtigsten Produkte auf einem Blick. Lippenstift, Lidschatten, Blush und Wimperntusche wurden mir freundlicherweise von Point-Rouge zur Verfügung gestellt – lieben Dank!

/What do you think? Would you recreate this look? Not that it’s super complicated but… I’m curious :) Here you have the key products on one glace. Lipstick, eyeshadow, blush and mascara were provided by Point-Rouge – thanks!

Written by Nisi

Februar 25th, 2013 10:23 pm. Comments

2012 – blog retrospect

Before we jump right into the next year I’d like to look back to what happened in 2012. This year was full of travels, super exciting blog projects and quite a few changes. I would definitely say it was a really amazing and exciting year!

January:

Desi got a new hair cut – very short by her standards.

And of course it was Fashionweek in Berlin. At the Fashionbloggercafé we could meet new nice fellow bloggers or old friends.


We also got invited to the Giorgio Armani Blog Atelier in Hamburg.

February:

In February we were invited to Hamburg once again – this time for the opening of Adidas NEO’s first store in Germany.

March:

This month was very special and exciting for me. I got invited to San Francisco to join Adidas NEO at the shooting for their fall/winter campaign 2012 – what an awesome experience!

May:

In May the next amazing blog project followed. We shot a video for Yves Saint Laurents new Foundation Le Teint Touche Éclat in Paris!

June:

Simply enjoying the summer and the UEFA European Football Championship.

August:

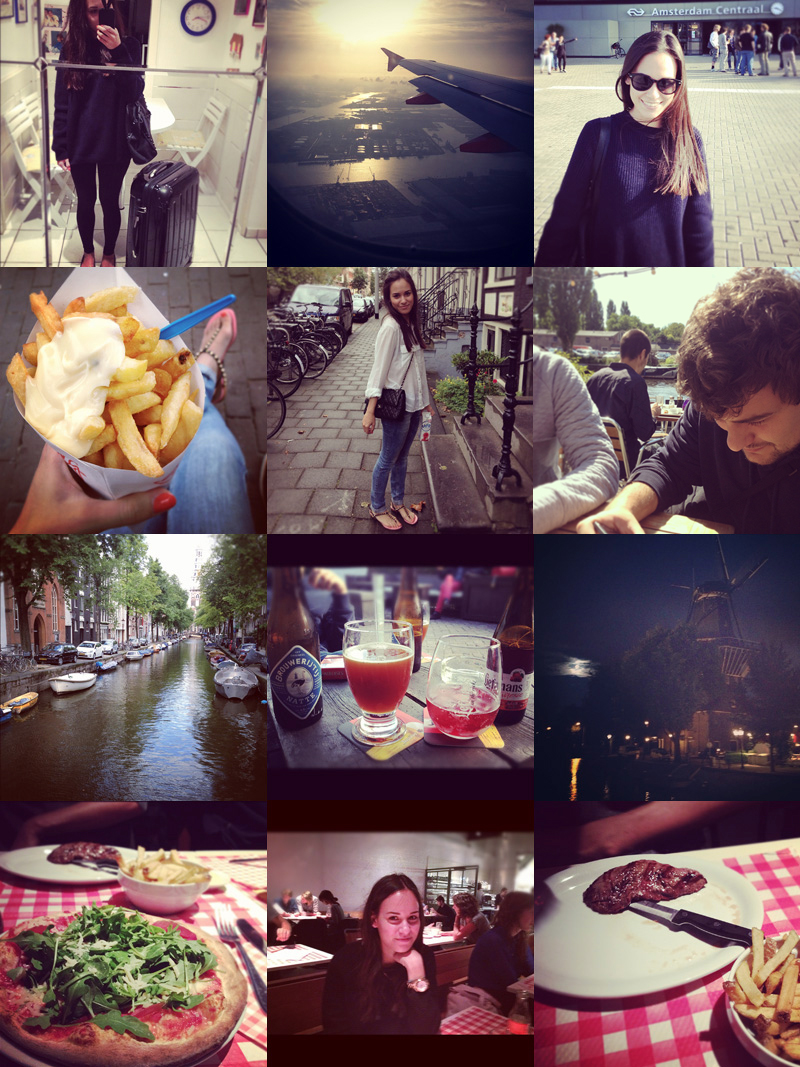
In August I finally got myself an iphone, got obsessed with instagram and travelled to Amsterdam with my boyfriend.

September:

This month Desi started her semester abroad in Lisbon, Portugal!

And we got featured in the october issue of JOY magazine!

October:

In October I had a really fun weekend with Glossybox.

November:

I got my first glasses ever!

December:

Apart from the general christmas pleasures I travelled to Lisbon to visit Desi and spend New Years Eve here!

So with that we wish you a very happy New Year! ♥

Written by Nisi

Dezember 31st, 2012 12:46 pm. Comments

Advent, Advent… Giveaway zum 1. Advent
view post


Zur diesjährigen Weihnachtszeit möchten wir euch als Dankeschön auch mal richtig beschenken. Daher haben wir uns überlegt, Give-Aways an allen vier Advents-Sonntagen zu veranstalten – vier wundervolle Gewinne für euch und das noch vor Weihnachten! Wir hoffen ihr freut euch genauso wie wir :)

Den Anfang macht ein tolles Set von TONI&GUY bestehend aus allen vier Produkten der Glamour Collection – darin das Spritz & Shine Liquid Mousse, die Serum Drops, das Moisturising Shine Spray, das Firm Hold Hairspray – und einem Hitzeschutzspray. Damit wäre also einer von euch perfekt gewappnet, um sich für die Festtage und Silvester glamouröse Hochglanz-Frisuren zu zaubern. Ihr wisst ja, dass ich das Sea Salt Spray schon lange in mein Herz geschlossen habe. Und wie dieses duften auch alle anderen TONI&GUY Produkte einfach nur himmlisch.

Wie ihr teilnehmen könnt? Da das Ganze für unsere treuen Leser gedacht ist, würden wir uns natürlich über ein Like auf Facebook als Dankeschön sehr freuen. Dann müsst ihr nur noch einen Kommentar mit eurer Emailadresse unter diesem Post hinterlassen. Teilnehmen könnt ihr ab jetzt bis zum nächsten Adventssonntag um 10 Uhr. Der Gewinner wird dann mittels random.org ausgelost, hier bekanntgeben und natürlich benachrichtigt. Von Minderjährigen brauchen wir im Falle eines Gewinns das Einverständnis der Eltern. Leider können nur Leser aus Deutschland teilnehmen.

Wir wünschen viel Glück und eine schöne Vorweihnachtszeit!


Sorry this giveaway is open for German readers only.

Written by Nisi

Dezember 2nd, 2012 11:00 am. Comments

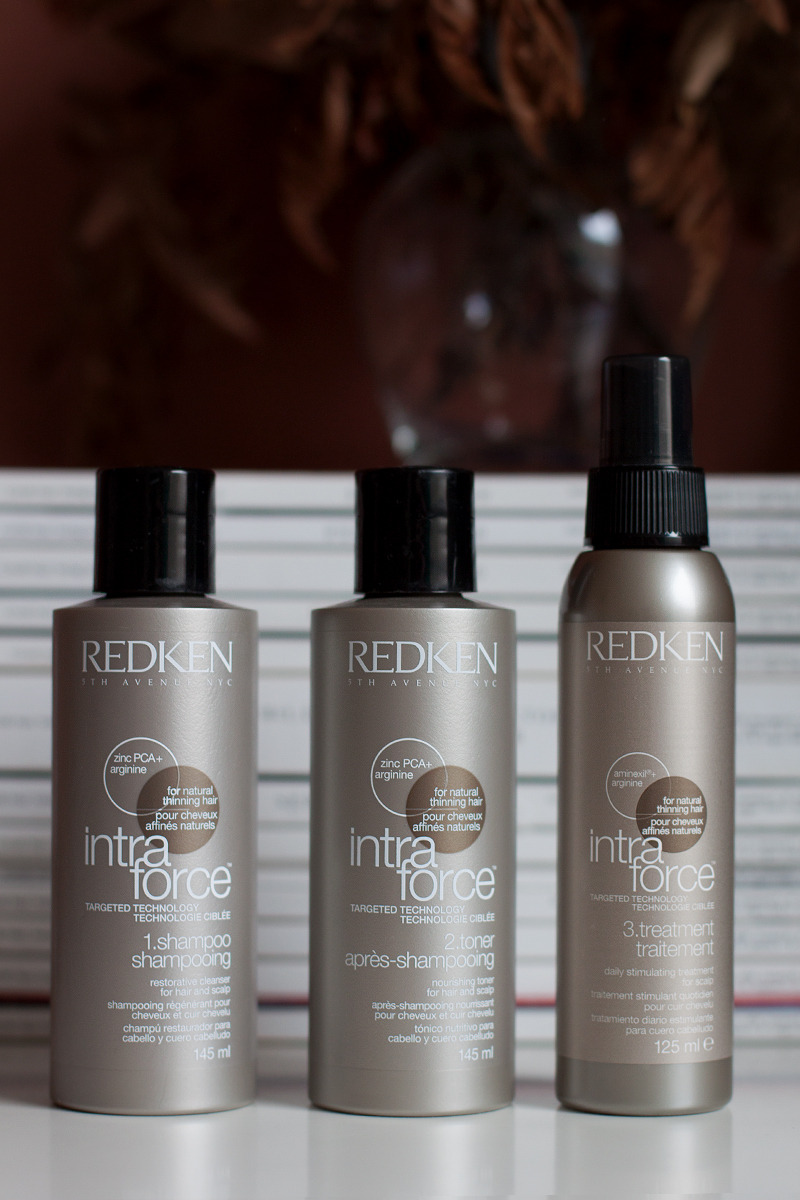
Review: Redken Intra Force Kit
view post


Auch wenn man es mir auf den Fotos nicht ansieht, habe ich doch einige Probleme mit meinen Haaren. Mein Größtes ist derzeit undichtes, brüchiges Haar und Haarausfall. Ich muss dazu sagen, dass es keine erbliche Ursache ist, sondern mehr aus der eigenen Schuld heraus.
Also war ich auf der Suche nach Haarprodukten, die die Kopfhaut anregen, die "übrigen" Haare stärken und die Wachstumsphase der Haare verlängern und somit für dichteres und volleres Haar sorgen könnten. Zu meinem Glück konnte ich dazu die Redken Intra Force Serie testen. Ich erhielt das 30 Tage Starter Kit. Nach einem Monat Anwendung teile ich mit euch meine Erfahrung.
Das Set besteht aus Shampoo, Toner und einer Intensivkur. Alle drei Produkte habe zu und nach jeder Haarwäsche (bei mir alle 2-3 Tage) angewendet. Die Intensivkur ist ein Spray, was man sich auf handtuchtrockenem Haar direkt auf die Kopfhaut gibt. Sie sollen nach folgendem Prinzip wirken:

BEUGT VOR:
Das patentierte Aminexil verhindert die Verhärtung von Collagenfasern rund um die Haarwurzel, verlängert die Wachstumsphase der Haare und erhöht die Anzahl der Haare in der Wachstumsphase.

STIMULIERT:
Arginine wirkt durchblutungsfördernd, wodurch die Nährstoffzufuhr zur Haarwurzel gesichert und somit die Zellteilung gefördert wird.

ENTGIFTET:
Zinc PCA trägt zur Reduzierung von Talgablagerungen, DHT und Verunreinigungen, die durch die Umwelt entstehen, bei und sorgt somit für eine gesunde Kopfhaut.

Schon während der Anwendung bemerkt man vorallem beim Toner und der Kur ein leichtes Kribbeln und ein kühlendes Gefühl auf der Kopfhaut. Meine Kopfhaut wurde in der Tat angeregt, denn meine kleinen "Babyhaare" auf dem Kopf standen ab wie kleine Antennen. Ich fasste das mal als gutes Zeichen auf und dachte mir: "Gut, irgendwas tut es." Ob es ein schnelleres Haarwachstum zur Folge hatte, kann ich nicht wirklich beurteilen. Dazu muss man es wohl länger anwenden. Außerdem wirkt die Serie keinesfalls austrockend, was ich anfangs noch befürchtet habe. Viel mehr fühlen sich meine Haare weich und gepflegt (und das ohne Silikone) an und sind luftig und voluminös. Sie sehen gesünder aus. Meine Haare werden auch nicht so schnell fettig, weswegen eine Haarwäsche alle 2-3 Tage auch vollkommen ausreichend ist. Liegt wohl an der gut gereinigten Kopfhaut. Alles Eigenschaften, die ich mir auch von einem "regulären" Shampoo wünsche. Lediglich vom Anti-Haarausfall-Effekt habe ich mir etwas mehr versprochen, es landen ungefähr genauso viele Haare im Ausgusssieb wie vorher. Vielleicht liegt es eben daran, dass mein Problem keine erbliche Ursache hat, wer weiß.

Insgesamt kann ich diese Produkte-Serie deswegen empfehlen, weil sie das Haar pflegt ohne es zu beschweren. Wenn es auf andere Leute noch eine stärkere Anti-Haarausfall-Wirkung hat, umso besser. Ich werde den letzten Rest noch gerne verbrauchen. Für mein spezielles Haarproblem werde ich allerdings nach weiteren Produkten Ausschau halten.


Since I suffer from thinning hair and hair loss, though it's not inherited, I was glad to got the chance to try out the Intra Force System from Redken. It indeed stimulatesmy scalp but it's hard to tell if my hair grows faster or not. Furthermore it isn't drying out my hair, it even seems to be really nourishing my hair and making it soft – without silicons. My hair also doesn't get greasy that easily. Which is why I only wash them every other day. I expected a bit more of an anti-hair loss effect though. But since it has all the other features which I expect from any other regular hair care products I'd still recommend this series. Maybe it has a better effect on people with inherited hair loss. Anyways I'll use up what I've left and concerning my problem I'll look out for other products then.

Written by Nisi

November 19th, 2012 01:31 pm. Comments

About us Contact

» teetharejade « is written by the twin sisters Desi & Nisi since July 2008. This blog is about fashion, beauty & lifestyle. They share their outfits, beauty wishes and recommendations as well as their recent purchases. Moreover they give insights into their travels & adventures, events and personal lifes.

For press, collaboration and advertising enquiries please contact hello[at]teetharejade.com.

For display advertising please contact Condé Nast Verlag.